Monday, 12 March 2012

Game Asset Workflow

An established system of workflow generally leads to smooth sailing,
so this is just a note as to how I am going about operating between the various stages
of game asset creation and will serve as a future reference to ensure that in the
dreaded event of data loss, I can be sure to restore backups without a hitch,
on the same software versions and builds.
 
Conceptualisation
¦
Maya 2012 64-bit (Modelling)
¦
ZBrush 4.0 (UV Unwrap)
¦
Photoshop CS5.5 64-bit (Texture)
¦
Mudbox 2012 64-bit (Sculpt)
¦
Maya 2012 64-bit (Rig, Animate and Export via FBX)
¦
UDK-2011-06 (Implementation into Game)

Sculpting - Player Ship - Mudbox


Autodesk Mudbox allows for a much similar operation when working with 3D Models and Textures like ZBrush. I personally found Mudbox to be much more user friendly in that upon initial startup, you can specify a paticular layout with hotkeys similar to what program you are most familliar with. This is especially useful as there is an option to choose a 'Maya-style' layout, saving considerably on confusion and making workflow between both programs much more flush and elegant.

Below you can see how I have approached sculpting the details onto the 3D model.


In the picture below it can be seen that the model is smoothed, while the base model is not. This method of adding multiple subdivisions to a simple object (and thereby turning it into quite a complex object) allows for a tremendous amount of detail to be added to the 3D model.

Mudbox does not just offer sculpting though, with full integration with Maya and a very easy transition pipeline for getting layers and information from Photoshop, this program really does offer a true all round solution, and it is one that I have found myself to be very comfortable in using.

 
Note the detail added above. Once this had been achieved covering the entire model as to how I desired it, it then became necessary to produce the maps that would add the finishing touches to the Player Ship's presentation within the game world.

Below you will be able to see, firstly the Normal map then followed by the Vector Displacement Map. These are generated in Mudbox according to the sculpting deformations that you make when working with a much higher subdivided version of the model itself. The imperative nature of creating well made UV maps is key to success here as the additional subdivides sit snugly within the original UV Map boundaries and this way do not intersect/interact in a negative way upon the vertex's surrounding them.

"Player Ship - Normal Map"

"Player Ship - Vector Displacement Map"

These final renders below were created utilising all the previous levels of production in creating this ship and its texture in a combined method. These high-quality renders should now correctly identify the end of a journey in terms of from initial concept to production finalised. 

Some textures do still need to be adjusted however these are simply cosmetic issues that can be fixed during a later phase of development. For now the bulk of the leg work is done on the Player Ship and it is ready for Rigging and Animation then finally it will be implemented with the code that was finalised on the Test Ship in the very early days of this games development cycle.

"Ship Render - Front/Side"

 "Ship Render - Back/Side"

"Ship Render - Underneath"


Texturing - Player Ship - Photoshop


Making use of the plethora of textures I chose during the selection process, I cut, shaped, and modified until the desired effect was achieved over the UV Map with my Player Ship texture.

I used a range of techniques in getting the textures to align with the polygons and in trying to build this impression of plated metal over the ship.


As it stands at this point the model's texture seems very bare, the next stage will be the production of Vertical Displacement Map and a Normal Map. It is with these maps that the final touch will be achieved in the visual aspect of the Players Ship.

By applying the texture you can see above, the texture fits snugly over the model (below)
and while the blending options for the shadows around the plates seem quite overbearing
at this stage, I am confident that when the additional maps are applied they will coalesce
and produce a result that I can be pleased with.


Texturing - Player Ship - Selection

Taking the UV Map that was produced as specified in the previous post I moved forward into gathering a collection of samples that would best dictate the intended look for my Player Ship. In my concepts for this ship I tried to experiment with scratched/damaged detailing over a cool-silver exterior hull. It was then when I began to play around with that colour scheme I realised it didn't truly fit the form that I had visualised during my conceptual stages. I wanted something that reflected a darker and more gritty semblance to humanity within my game.

To take two extreme examples, below you can see a picture of the Defiant from Star Trek:First Contact. Note how the ship is very clean in design and this is a theme that is prevalent across all the designs in Star Trek. Further below is a picture of the Battlestar Galactica from the remake-series that goes by the same name. In BSG humanity is on the run and the ships are very far from being fresh off the manufacturing line.


The design aspect I wanted to be closer to within my game for all the
ships/stations falls closer to that of the dark gritty nature exhibited within the BSG series.
I want it to be evident to the player that space-travel is not just an everyday occurence, but it has been in use for so long that there is a majority of ships in states of disrepair.

Here are the final texture selections I made that compose
the general look and feel for my finished ship texture:
 "Ship Hull"
 "Metal Grate"
"Metal Diamond"
"Warning Hazard"
 "Frosted Glass"
(Subject to change)

These are some additional textures I made by sampling the Ship Hull texture to further create a range of differing patterns across the Player Ship.

This was done a multitude of time in many different ways, here are two examples that should highlight the way in which I approached taking the visual data from the base texture and then modifying it to remove visual artificats that would 'clue' the viewer in to the fact it is a modified version of the texture making up the majority of the ship.

"Ship Hull 1"
"Ship Hull 2"

Coming next is a breakdown of the texturing process onto the UV Maps...

UV Unwrapping the Player Ship


 At this stage in my workflow, with my player ship model complete.
I exported the Player Ship as an .obj file and then imported it into Zbrush 4.0.
The purpose of doing this is that Zbrush has a rather nifty plugin that allows meshes (from simple to complex) to be automatically unwrapped in a tangible and understable manner. 


 This plugin is called UV-Master can be obtained from here.
Simply place the plugin with ZBrush's plugin folder contained within the installation folder.

The fruits of such labour can be seen below.
The below UV map allows for consistent application of accurate textures onto the 3D model.
This will prove to be especially useful in creating aestheticly pleasing textures that will allow further development when considering the application of vertical displacement maps and normal maps.

The UV Master plugin allows the user to 'paint' areas that require to be preserved and allow a quick and easy function for the user to also 'paint' where the seams will exist on the UV map for the model. This aspect of ZBrush really astounded me in how it cut many hours out of the workflow for this section and allowed a much faster transition between the production stages.


Now this is where I encountered a multitude of problems within ZBrush.
For some reason I just could not get to grips with the general functions of the program and found the HCI aspect of using the program to be quite encumbersome at times.
 In terms of the quality of results when sculpting within ZBrush I was very impressed however its operation on an interaction level began to really grate me after a while and that is when I began to look into an alternative approach to producing my vertical displacement/normal maps.

Monday, 23 January 2012

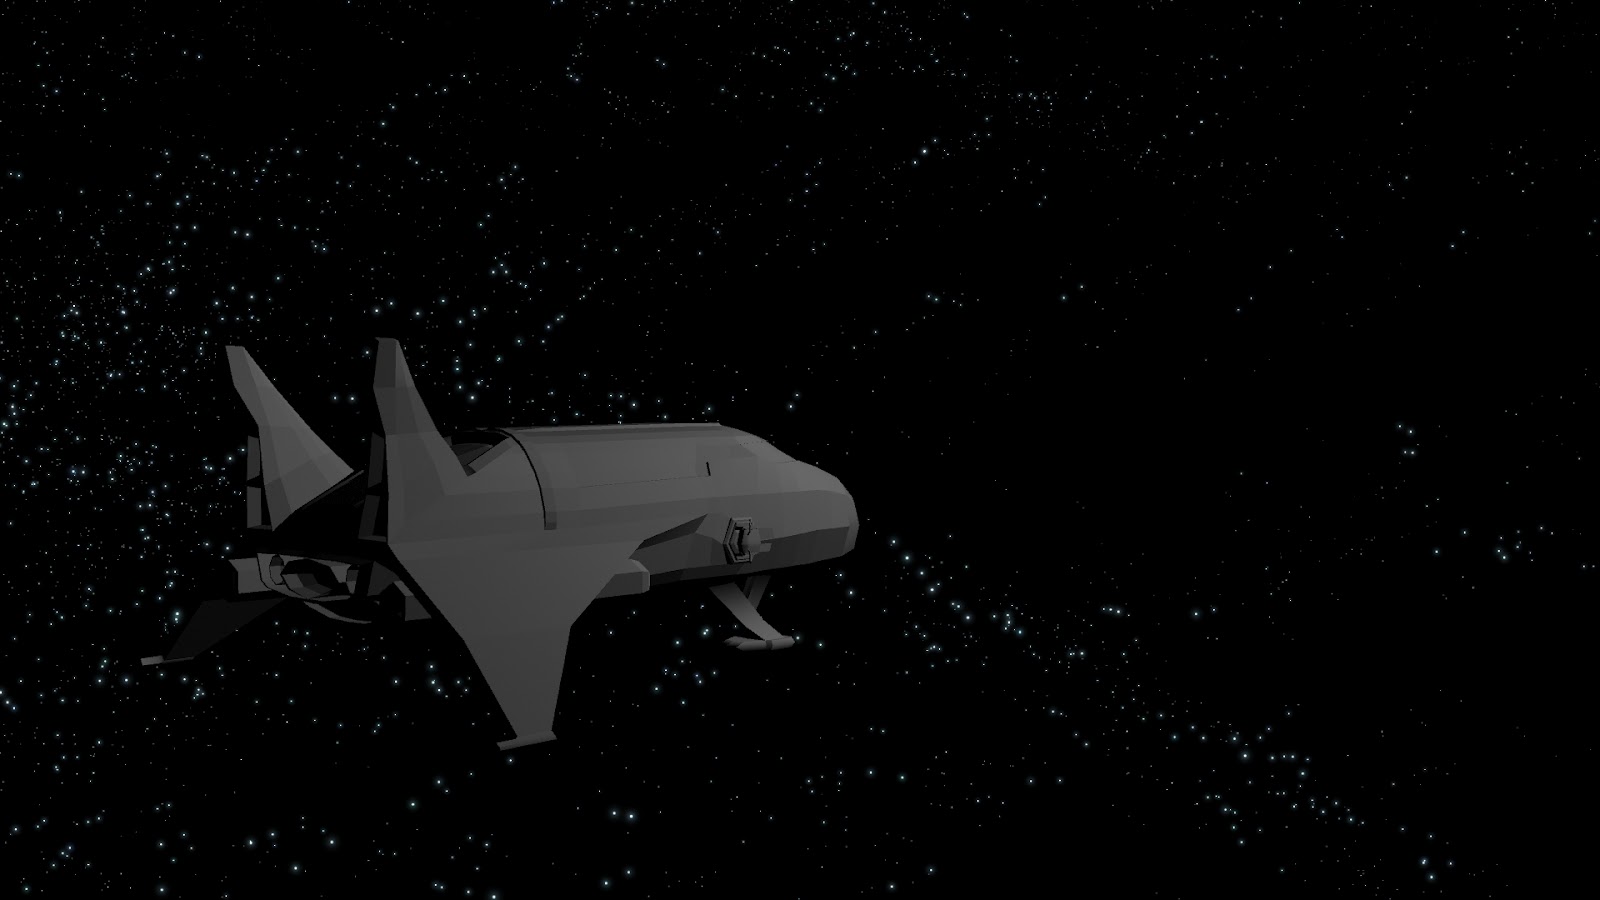
Player Ship Update

Heres a quick update of the state of the player ship in the modelling phase. I will sort those rear thrusters out after some sleep I think.